This is one of my most requested appetizers…and until a recent bright idea, it’s been one I’m always hesitant to make. This requires “strained” salsa, and I’d been using this tiny juice strainer. It was tedious and took forever. Recently I had a thunder-clap moment, and realized I could strain in seconds using cheesecloth!! BOOM! GENIUS! How I never thought of this before, I don’t know, but now that I’ve had this brain wave, I’m happy to share this new and improved delicious and so easy recipe that will be sure to have your guests asking for more!!
INGREDIENTS
- Flour tortillas (burrito style)
- 1/2 cup chunky salsa, strained…chunky is a MUST
- 8 oz cream cheese, softened or whipped
- 1/4 cup finely shredded cheese (I prefer Mexican mix, but use what you like!)
- 5-8 slices of jalapeños, diced. Use more or less to taste
- 2 tsp. Chipotle Tobasco sauce
** jalapeños and Tobasco if you like heat. You can substitute olives for jalapeños. You can add black beans or diced onions too, this recipe is very adaptable for various degrees of heat and flavor**
1-Cover a deep bowl with cheesecloth…help it stay by placing a rubber band around the lip of the bowl. Pour 1/2 cup of salsa on top of the cheesecloth. 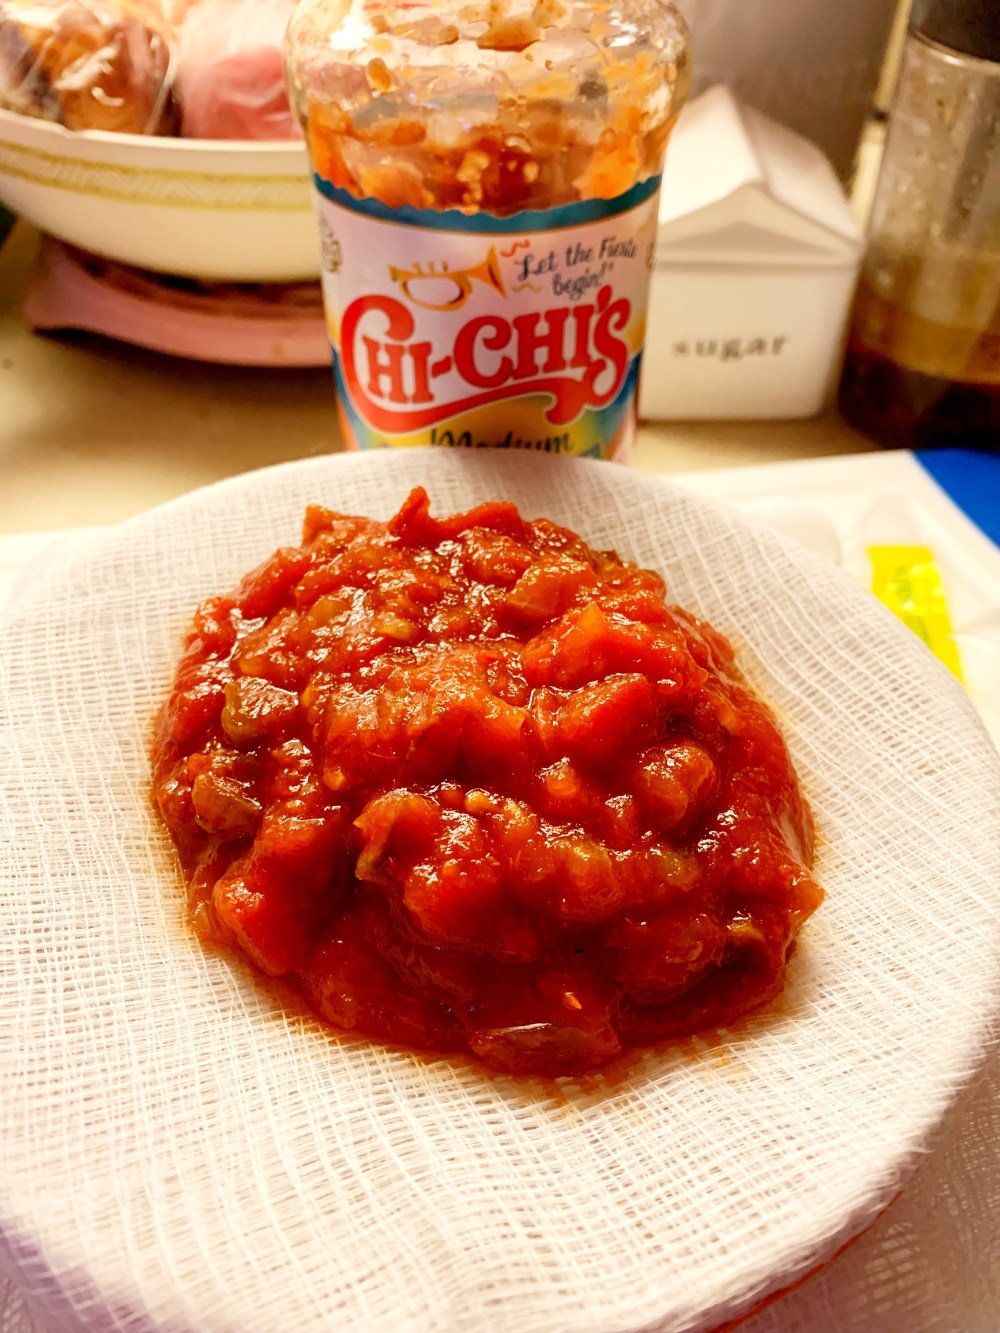
2- Undo rubberband and begin squeezing liquid out of the balled up salsa. This will get messy. Don’t squeeze too tightly or you’ll make it REALLLLLY messy. Once liquid is no longer being squeezed out with regularity, scrape the strained salsa into a bowl. Don’t waste the liquid, this tastes great added to Bloody Marys, or into ground beef for tacos!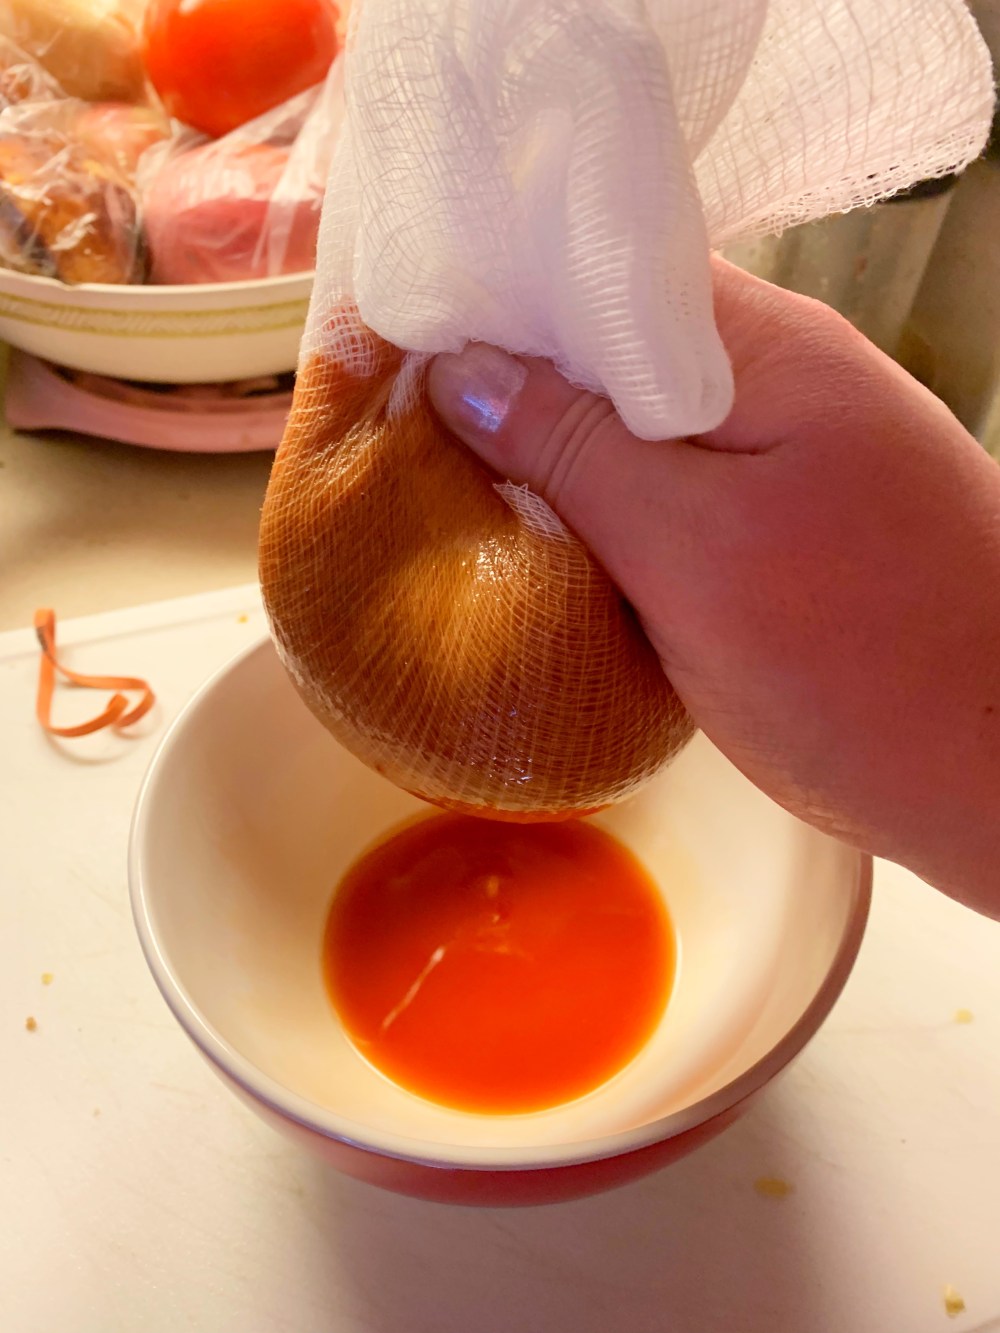
3- Add the cream cheese to the strained salsa. If not whipped, make sure it’s very soft otherwise you’ll be mixing for a long time. Mix til salsa and cream cheese are well combined. Then, add the Tobasco, dice up your jalapeños and combine them in as well. Combine. 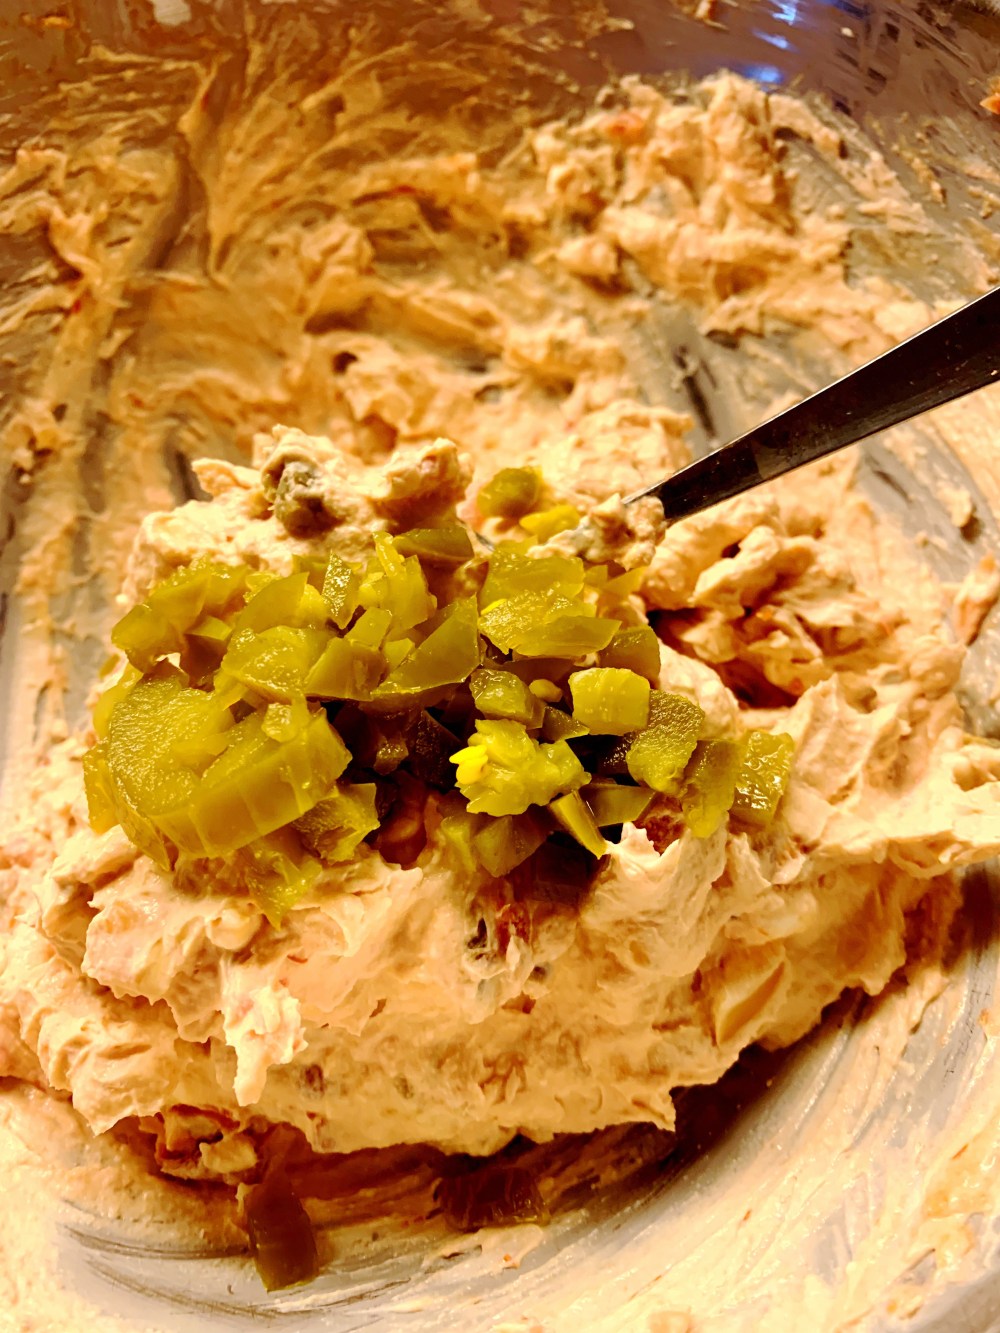
4- Layout tortillas one at a time and spread a spoonful of the cream cheese salsa mix. Don’t spread too closely to the edge or it will squeeze out. 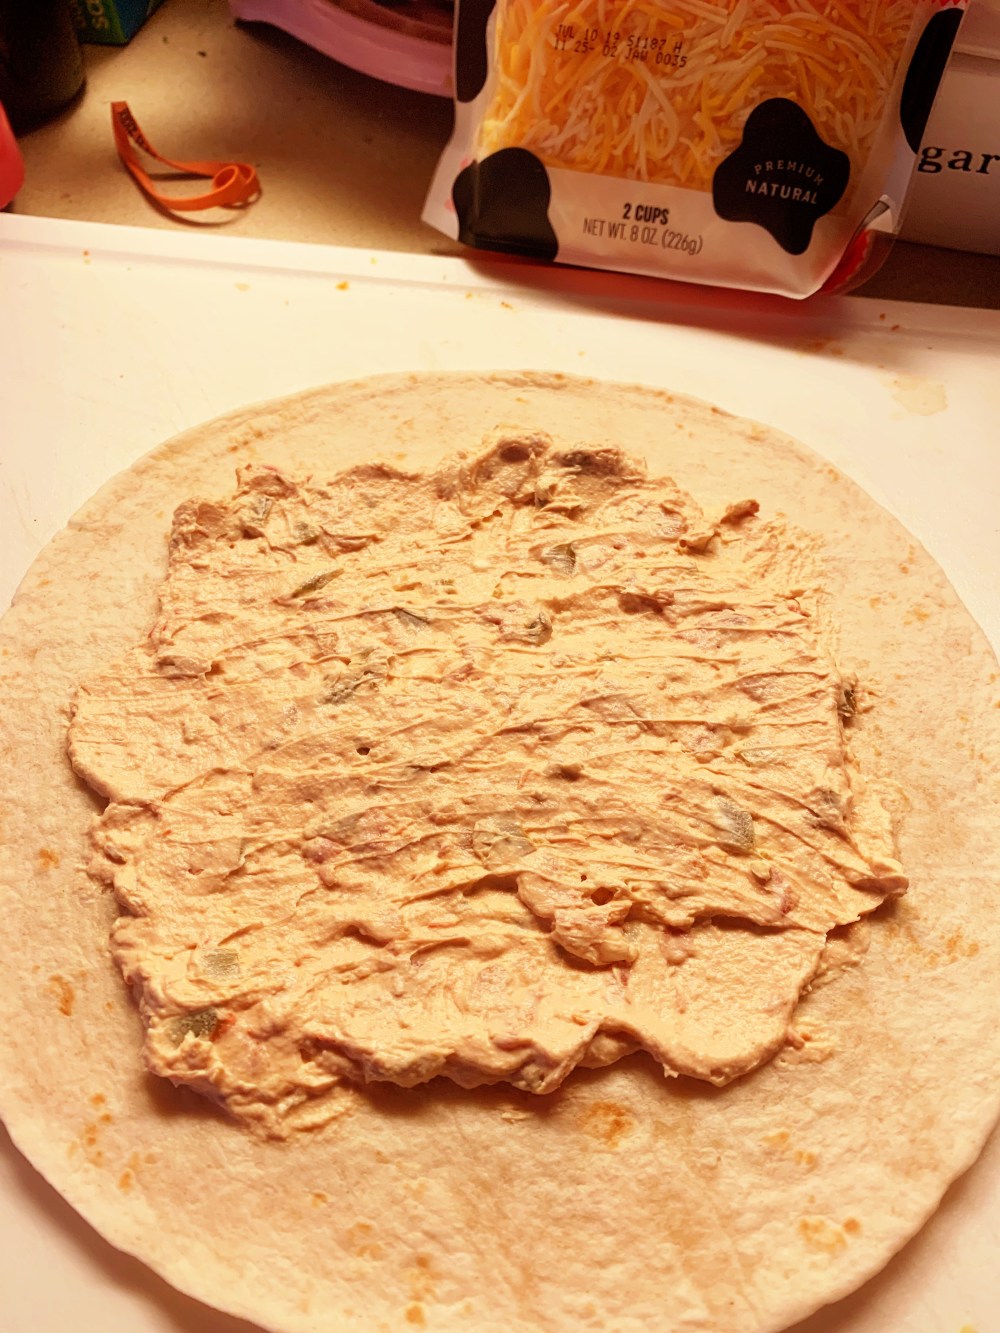
5- Sprinkle with shredded cheese and roll up tightly. 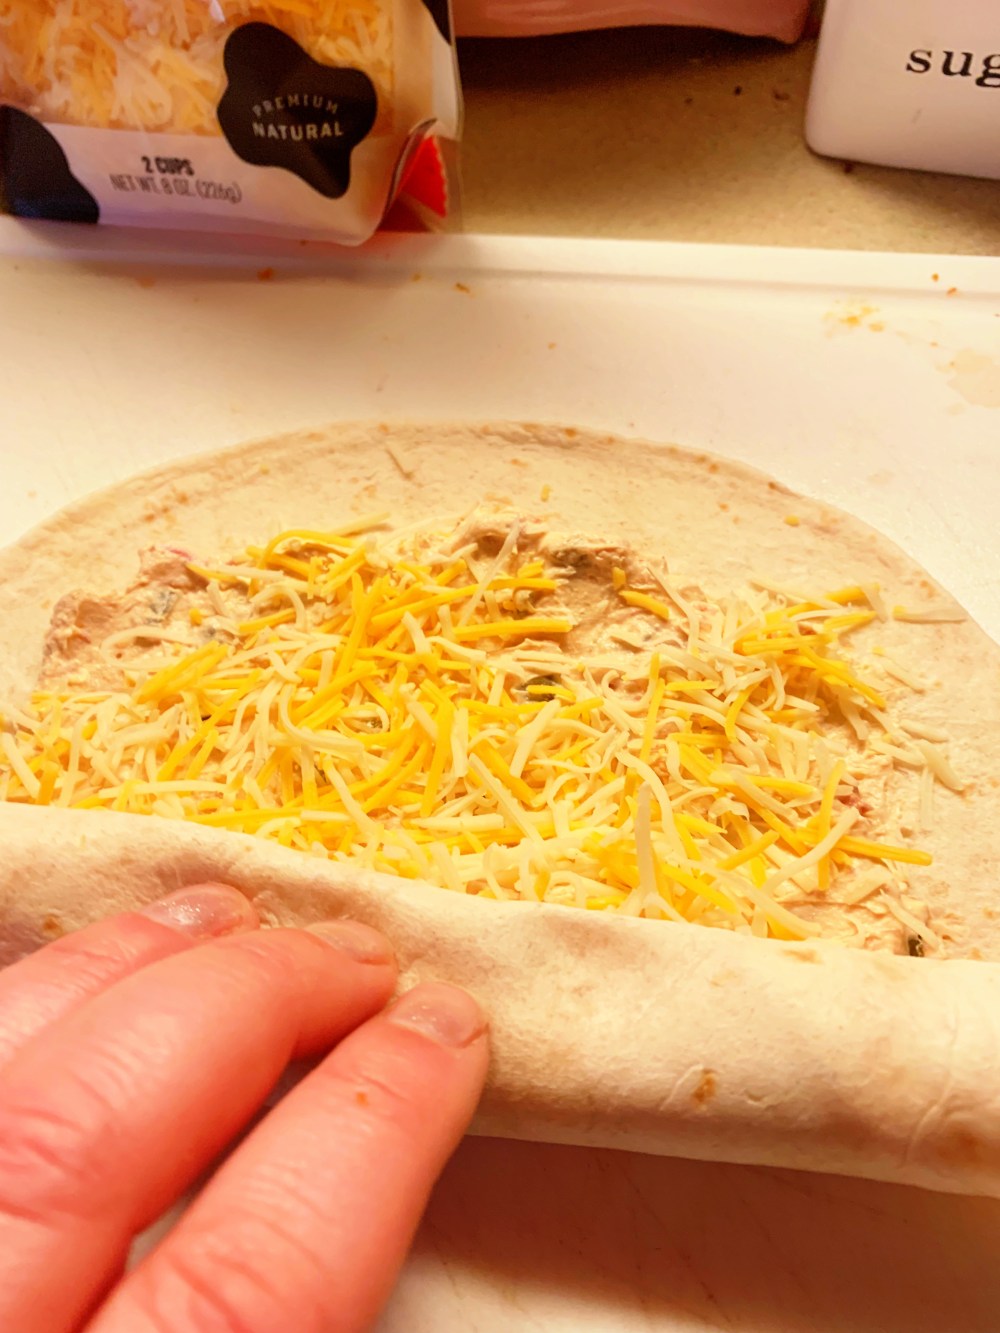
6- Lay out a square of cling film and roll up, twisting both ends tightly. Place into the freezer, as this will make for easier cutting. 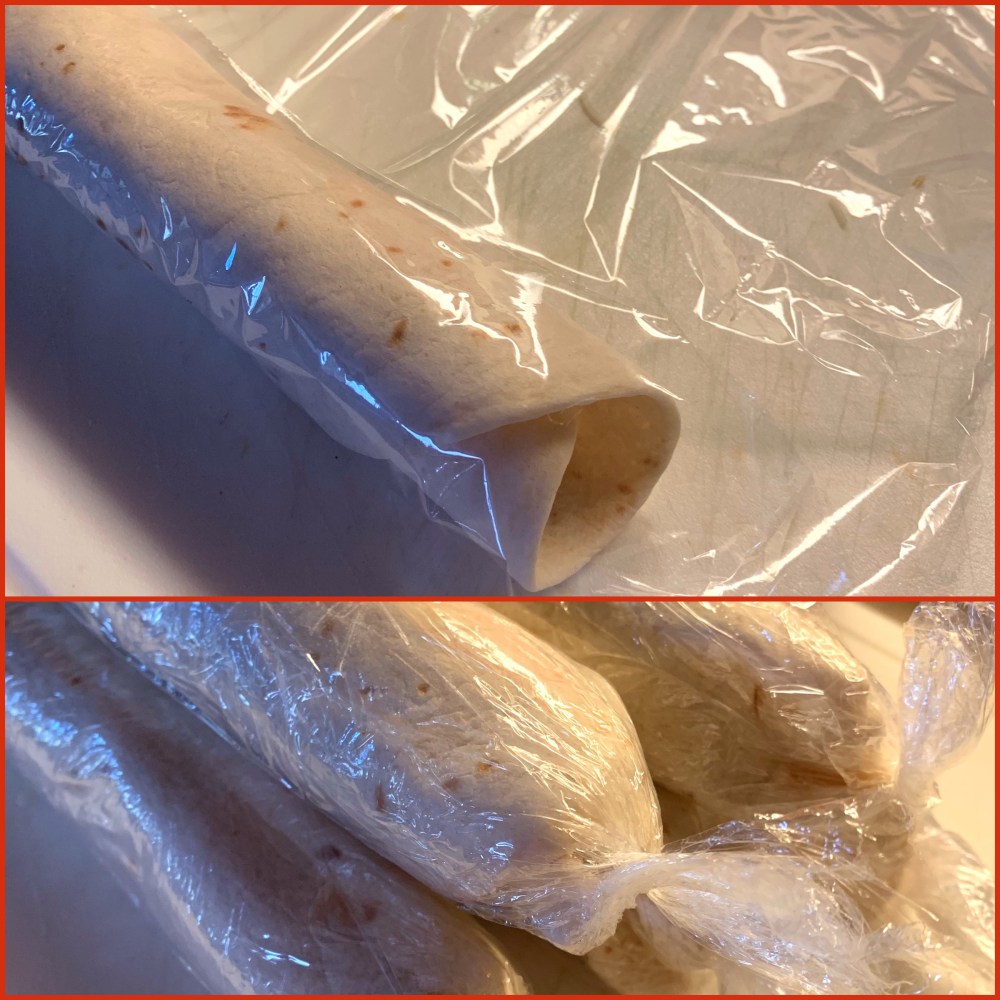
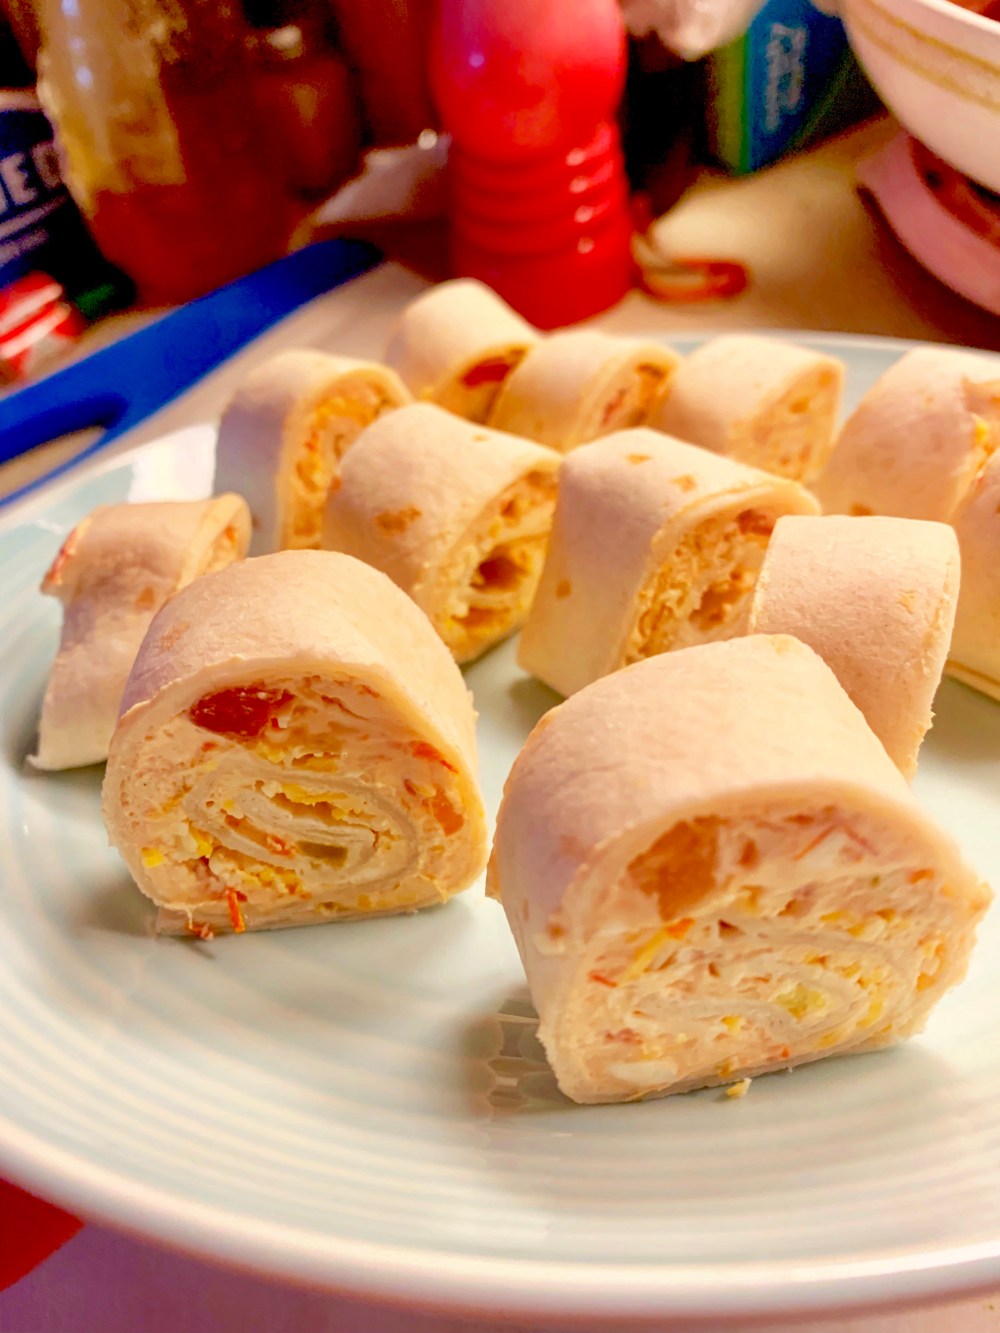
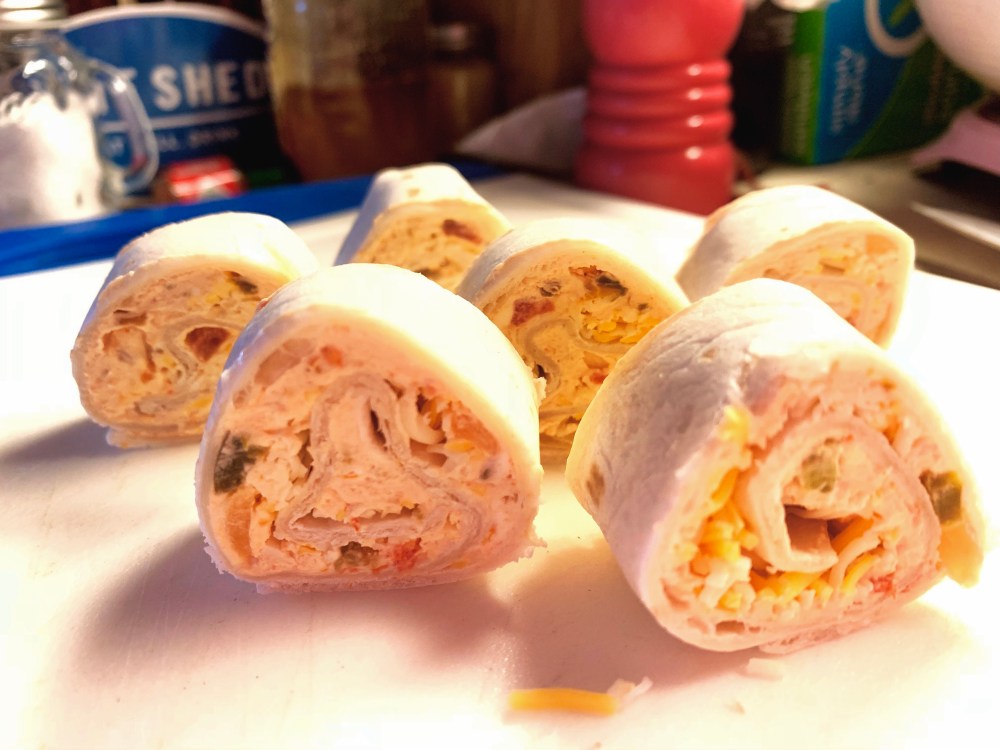
The longer these sit in the freezer the better..they are a pain to try to slice up unless they’re good and solid. And don’t worry, once you slice these babies up, they defrost quickly, so you can set them out almost right away! Slice into approximately 1 inch pieces, and yes, you as the “chef” get the envied role of snacking on the ends that really don’t look so pretty. 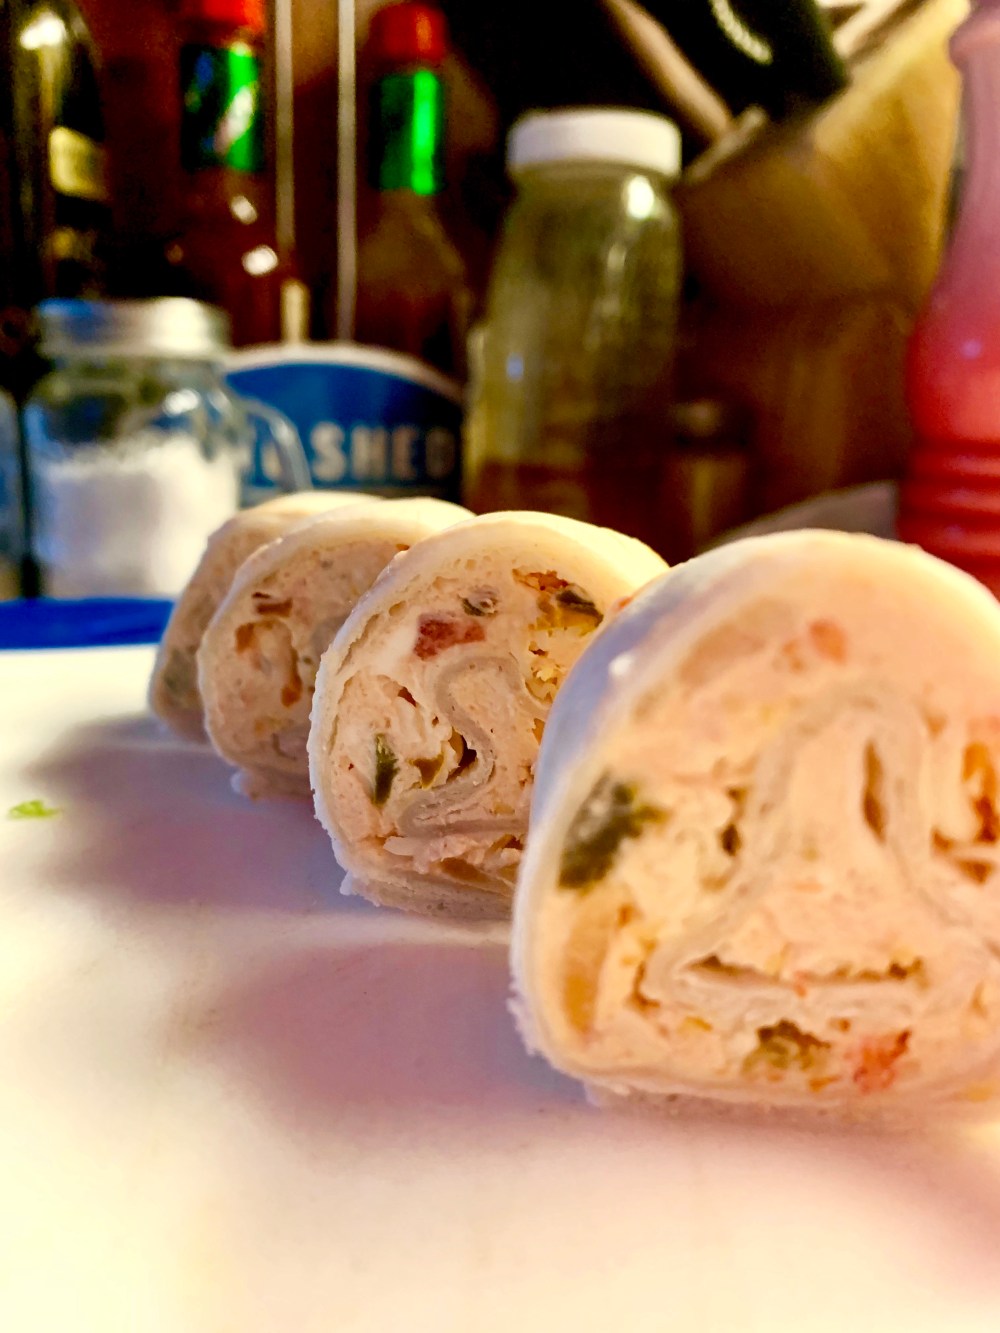
Make as far in advance as needed… I’ve kept these frozen (in ziplock freezer bags) for as long as a week. Enjoy!!